Editorial draft: check component names and syntax against the ESPHome version used at publication time. The example YAML contains no secrets.
What ESPHome is
ESPHome is a system for turning compatible microcontrollers, such as an ESP32, into home automation devices through YAML files. Instead of writing all the firmware in C++, you describe the board, the network and the sensors; ESPHome generates the firmware and installs it on the device.
The result is not an app that only runs on your computer. The firmware stays on the board and can keep reading sensors and running some actions even when Home Assistant isn’t available. Home Assistant adds the dashboard, the history and centralised automations once you connect the device through ESPHome’s native API.
What you need
- A compatible board, usually an ESP32 for a first project.
- A USB data cable and a stable power supply.
- A computer or a Home Assistant installation where you can run ESPHome.
- A WiFi network compatible with the board.
- The sensor or actuator you want to add, along with its datasheet.
The ESP32 beginner’s guide explains how to choose a board and avoid power mistakes. Don’t connect the sensor before you know what voltage and pinout it needs.
Ways to install ESPHome
You can use ESPHome from the Device Builder included in Home Assistant, from the command line or through a container. The simplest option depends on your installation:
| Method | When to choose it | Consideration |
|---|---|---|
| Device Builder in Home Assistant | You already run Home Assistant | The configuration stays close to the rest of the system |
| Command line | You want to version your YAML and automate builds | You have to manage Python, dependencies and secrets |
| Container | You already maintain Docker and container networks | You must preserve the configurations volume |
See the official ESPHome documentation to confirm the installation steps and changes in the current version.
Creating the first configuration
Start with a small device with a short, stable name. A minimal file can have this structure:
esphome:
  name: sensor-prueba
  friendly_name: Sensor de prueba

esp32:
  board: esp32dev

logger:

api:
  encryption:
    key: !secret api_encryption_key

ota:
  - platform: esphome
    password: !secret ota_password

wifi:
  ssid: !secret wifi_ssid
  password: !secret wifi_password
The board value is only an example. It must match the real board; two boards
with a similar ESP32 can have different pins, memory or peripherals. The keys in
secrets.yaml stay in your local installation and should not be copied to a
public repository.
Adding a sensor
Once you’ve confirmed the minimal configuration compiles, add a component. For example, a DHT22 can be declared like this:
sensor:
  - platform: dht
    pin: GPIO4
    model: DHT22
    temperature:
      name: "Temperatura"
    humidity:
      name: "Humedad"
    update_interval: 30s
The configuration must match the hardware: model, GPIO, power and reading frequency. The DHT11 vs DHT22 comparison explains why the interval and the wiring matter. If you use a different sensor, look up its component in the official documentation and start with the smallest possible example.
Compiling and installing
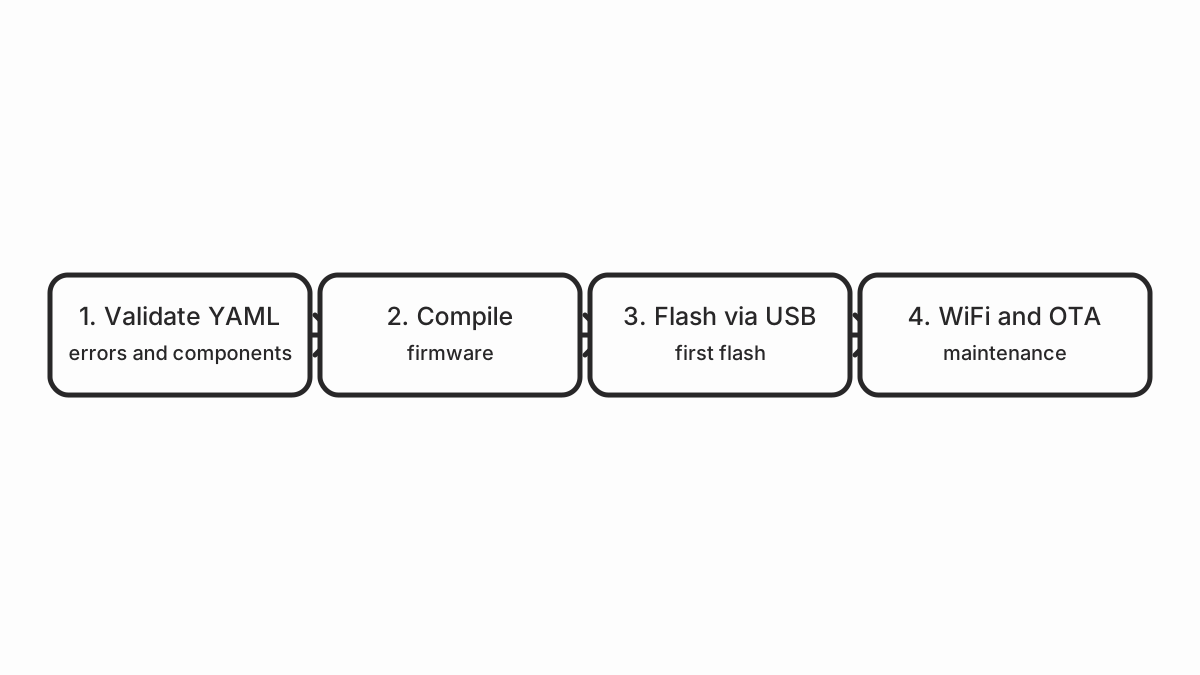
The normal flow has four steps:
- Validate the configuration. ESPHome parses the YAML and warns about syntax errors, incompatible components or missing fields.
- Compile the firmware. The first compile can take longer because it downloads tools and dependencies.
- Install over USB. For the first flash this is usually the most reliable option. Keep the board connected and don’t interrupt the power.
- Update over OTA. Once the device is on the network you can use wireless updates, but always keep a way to recover it over cable.
Don’t disconnect the board during an update. If an incomplete firmware prevents the boot, you’ll normally have to install it again over USB and review the build logs.
Connecting ESPHome to Home Assistant
When the device boots and joins the network, Home Assistant usually detects the ESPHome integration. Add it from the devices panel, check the device address and accept the encryption key you configured.
Then check that the entities have clear names and correct units. A sensor called
sensor_1 can work, but it makes the dashboard messy once you have ten devices.
It’s also worth assigning an area, such as living room, terrace or workshop.
How to debug problems
- Build error: read the first line that points at a file or field, not just the last message. Check the documentation for the version you have installed.
- The board doesn’t show up over USB: change the cable, check the port and try the BOOT button if the model needs it.
- It won’t connect to WiFi: verify the SSID, the password, coverage and network compatibility. Not every board works on the same bands.
- Home Assistant doesn’t detect the device: check that both are on networks that can talk to each other and that the API is configured.
NaNsensor or no values: check power, GPIO, model, pull-up and reading frequency before rewriting the whole firmware.- Failure after OTA: connect over USB, recover a minimal configuration and add components back one at a time.
Security and maintenance
Don’t publish your WiFi credentials, API keys or OTA passwords. Use
secrets.yaml and a password manager to keep a copy. Keep ESPHome and Home
Assistant up to date, but don’t update every device without first checking the
compatibility of the change.
Remote access shouldn’t consist of simply opening the API port on your router. If you need access from outside home, use a documented access method and apply strong authentication.
External sources
- ESPHome: getting started guide — installation, first device, integration with Home Assistant.
- ESPHome: component reference — sensors, actuators, buses, protocols, parameters.
- ESPHome: YAML syntax — structure, secrets, includes, substitutes, packages.
- ESPHome: OTA updates — first USB flash, wireless updates, recovery.
- Espressif: ESP-IDF SDK — framework, framework_arduino, pins, memory, WiFi, Bluetooth.
- Home Assistant: ESPHome integration — discovery, entities, services, API encryption, OTA updates.