What an SCT-013 measures
The SCT-013 is a family of clamp-style current transformers. You put it around a conductor and it can measure current without cutting the cable, depending on the model and its load circuit. It does not measure power or energy directly: to calculate them you need current, voltage, power factor and time.
The family has variants with a current output and variants with a voltage output. The reading circuit differs between them. Identify the exact model before copying a resistor or a formula.
Safety first
This project can work close to mains voltage. The clamp must be installed without opening or modifying a live conductor, following the manufacturer’s instructions. If you are not trained to work in electrical panels, do not do the installation: ask a professional for help.
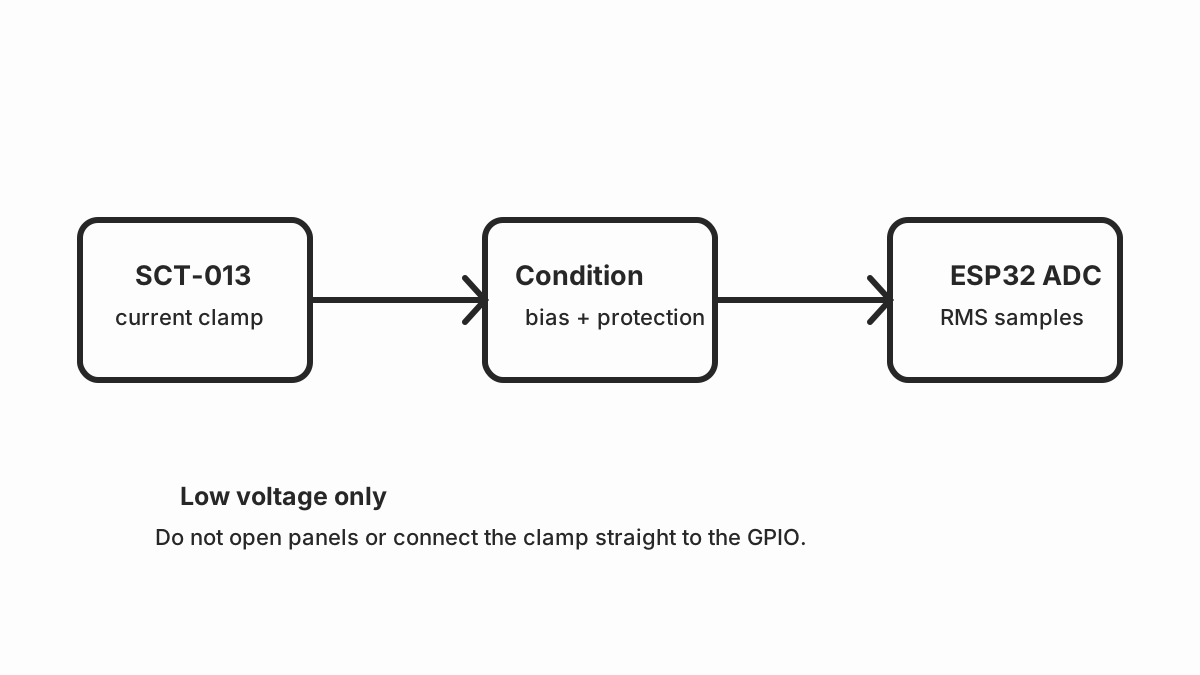
- Do not connect the output of a current clamp to a GPIO without conditioning it.
- Do not run a complete cable with live and neutral together through the clamp: the fields can cancel each other out and the reading will be wrong.
- Do not open the panel or touch bare conductors to run a test.
- Use an enclosure, insulation, a fuse and low-voltage separation.
- Disconnect and verify the absence of voltage before modifying the installation.
Low-voltage materials
- A development ESP32.
- An SCT-013 of the right model.
- The load or conditioning circuit recommended by the datasheet.
- Resistors and a voltage reference calculated for the ADC.
- An isolated, stable power supply for the ESP32.
- A suitable enclosure and terminal block.
The ESP32 measures a voltage inside its ADC range. The alternating signal from the clamp must be shifted around a reference and limited so it does not exceed the input. Connecting two SCT-013 wires straight to an analog pin is not enough.
Calculation principle
Alternating current changes constantly. To estimate its effective value, take samples over several cycles, remove the offset and calculate the RMS value. A conceptual approximation is:
I_RMS = square root of the mean of (sample - offset)²Then you apply the transformation ratio and the circuit calibration. Approximate active power would be current times voltage times power factor, but using current times a fixed voltage only gives an apparent estimate.
Reading with the ESP32
Use a suitable ADC and a sampling frequency high enough to represent the signal. The exact implementation depends on the circuit, the SCT-013 model and the mains frequency. Document the resolution, attenuation, number of samples and time window.
Do not publish a consumption figure with false precision. The result depends on calibration, noise, waveform, power factor and the exact point where you place the clamp.
Calibration
Compare the result with a known load or a reliable meter. Take several measurements with small and large loads and check whether the error is constant or grows with current. Adjust the conversion only after reviewing the offset, the load resistor and the ADC reference.
A resistive light bulb can be a simple load for a first test, but a motor, a switching power supply or a charger have different power factors and waveforms. A single calibration does not validate every appliance.
Common problems
- Zero reading: wrong conductor, clamp closed incorrectly, or live and neutral wires running through it together.
- Negative or unstable values: wrong offset, noise or insufficient conditioning.
- Saturated reading: signal too large for the ADC.
- Impossible consumption: wrong SCT-013 model or incorrect transformation calculation.
- ESP32 restarting: power supply shared with a noisy load.
What to show in Home Assistant
Start by showing current and one estimate with a clear unit. If you have not measured voltage and power factor, label the result as an estimate and not as exact active power. Add history data after verifying that the readings are stable.
External sources
- Espressif: ESP32 ADC documentation — channels, attenuation, calibration, noise, resolution, characterization.
- ESPHome: ADC sensor — configuration, attenuation, samples, calibration, offset, filters.
- YHDC: SCT-013 datasheet — family, ratio, burden, output, accuracy, isolation.
- Espressif: ADC guide — channels, attenuation, calibration, noise, resolution, characterization.
- Espressif: hardware design guide — schematics, pins, power, signal, ground, antenna.
- REBT: ITC-BT-18, ITC-BT-19, ITC-BT-20 — protection, isolation, clamps, panels, professional competence.
- IEC 61010-1: safety requirements — isolation, measurement categories, marking, tests.
- ESPHome: ADC sensor — configuration, attenuation, samples, calibration, offset, filters.